
New Zealand Great Walks Packing List – A Tramping Gear Guide
Embarking on one of New Zealand’s Great Walks isn’t just a hike, it’s an immersion into some of the most spectacular landscapes in the world. From alpine ridge lines and glacier-fed valleys to pristine coastlines and beech forests, each trail offers a wildly different experience. But one thing they all have in common? Following a Great Walks packing list can make or break your experience.
And this isn’t just about remembering your raincoat or choosing between trail runners and boots. It’s about being self-sufficient in remote backcountry terrain, prepared for hut life, and ready to handle four seasons in a day, A common feature of hiking in Aotearoa.
This gear list is a targeted, trimmed-down version of my full multi-day hiking setup, tailored specifically for hut-based hiking in New Zealand. So, I’ll cover exactly what you do need, and just as importantly, what you don’t.
Let’s dive into the essentials for a successful hut-to-hut New Zealand hiking adventure.
This article may contain affiliate links. If you make a purchase using one of these links, we may receive compensation at no extra cost to you. See our Disclosure Policy for more information.
Quick Links:
Backpack and Storage | Daily Hiking Clothes | Winter Hiking Gear | Warm Layers & Hut Wear | Wet Weather Gear | Footwear | Sun Protection | Sleep System | Cooking and Food | Hydration and Water Treatment | Navigation and Safety | Hygiene and Toileting
Understanding New Zealand Huts
If you’ve hiked in Europe, you’ll know the huts there often feel closer to small hotels; with hot meals, showers, and sometimes even wine lists. New Zealand huts are very different. They’re designed for self-sufficient hikers and are run by the Department of Conservation (DOC).
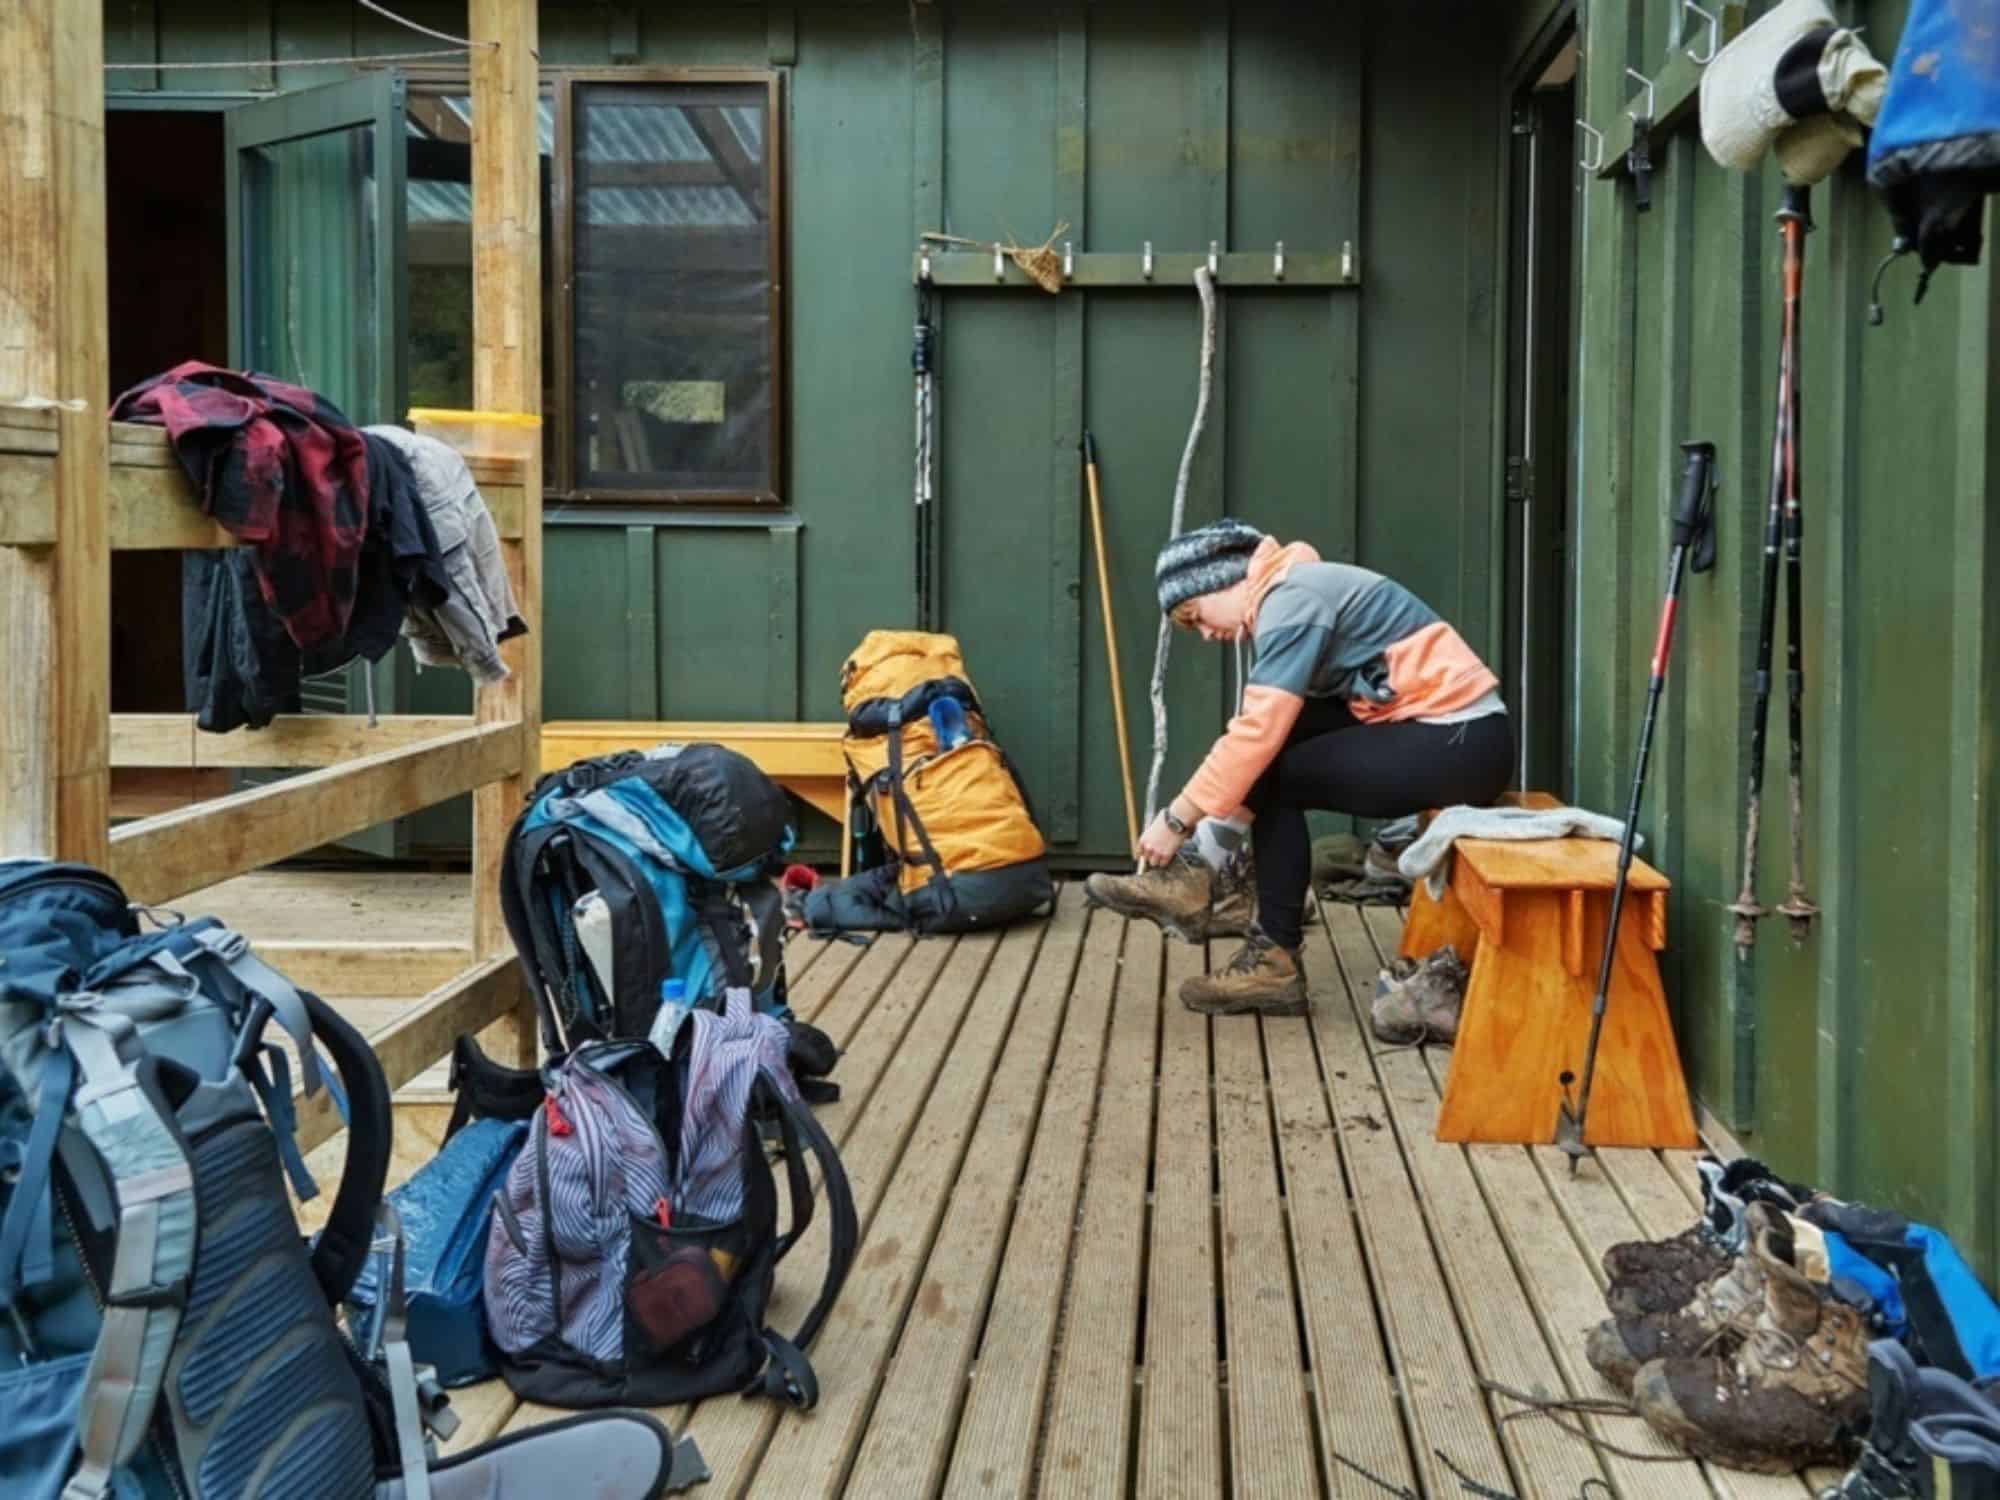
Even the most developed huts on the Great Walks are simple. You’ll get a bunk with a vinyl-covered mattress, communal benches for cooking, running water (treated or untreated depending on the hut), and either a long drop or flush toilet. During the busy summer season on popular trails, wardens are usually on site to share weather updates, and answer basic safety questions.
Here's a few things to keep in mind:
- You still carry everything. There’s no food for sale, no bedding, and if there is a kitchen, you will still need to bring your camp kitchen. It’s baasically a self-supported hike, just without the tent.
- Carry out all rubbish. No huts have bins. Every scrap of packaging and leftover food comes out with you, so you need think about minimising waste when you pack.
- Pack for damp. Huts are communal spaces and often crowded. Condensation builds up quickly, and drying options are limited. So you need to choose clothing that will still keep you comfortable even if it doesn’t fully dry overnight.
This guide is written with the Great Walks in mind, but the same advice applies to any hut-to-hut hike in New Zealand where you’re carrying your own food and gear. Quick Links are above if you wish to jump ahead.
Let's kick off with your backpack.


Backpack and Storage
For any hut-based hike in New Zealand, a 40–50L backpack is usually the sweet spot. That gives you enough space for your sleeping bag, warm layers, food, and rain gear, without being so big you’re tempted to overpack. If you're efficient and your gear is reasonably compact, there’s no need to go bigger.
I prefer the modern ultra light packs as opposed to more traditional woven fabric packs. Gossamer Gear Gorilla is my favourite pack when not carrying my tent. It's 50L including the outside pockets, which I use for wet weather gear, poop kit, and snacks. You might prefer a more rigid internal frame pack like the Osprey Eja, Both are solid choices, and lightweight and sturdy.
A Pack liner or dry bags are a must in New Zealand. Even if it looks sunny when you set off, you’re likely to walk through at least one day of serious rain. I use a Nylofume liner bag inside my pack. Nylofume is ultralight, super strong, and totally waterproof. I double-bag anything critical (like my sleeping bag and clothes) in dry bags just in case.
Many people use pack covers to keep their gear dry instead of bagging everything from the inside. Its a matter of personal preference. I prefer the pack liner myself, but I see plenty of pack covers on the track. Many packs come with a pack liner, but if yours doesn't, they are easy to come by.
Optional extras
Some walkers also bring a small fold-up daypack for side trips from the hut or to carry their lunch and water while exploring. It’s not essential, but it beats emptying out your main pack on your bunk bed and taking that. We love ours!
Links to Items in this Section
- 40–60L Back Pack Gossamer Gear Gorilla | Osprey Eja 48L
- Nylofume Waterproof Pack Liner
- Sea to Summit Dry Bags
- Pack Cover
- Sea to Summit Ultra SIL Day Pack


Clothing & Accessories
“Four seasons in a day” isn’t just a saying in New Zealand. On the trails you can start out in sunshine, climb into a cold misty saddle, get drenched by an afternoon downpour, and finish the day sweating in a humid beech forest. Your clothing system needs to handle those swings and the key is layering.
Consider the Trail and Climate
Although this guide is focused on the Great Walks, the same clothing approach applies to any hut-to-hut hike in New Zealand. The variation between tracks is huge, so match your layers to the climate you’ll face:
- Coastal tracks (Abel Tasman, Rakiura): Lower altitude, warmer air, and long sections through forest and beaches. Prioritise breathable layers, sun protection, and insect defence over heavy insulation.
- Alpine routes (Routeburn, Tongariro Northern Circuit): Even mid-summer can bring frost or sleet. A solid mid-layer, warm hat, gloves, and a dependable rain jacket are musts for exposed passes.
- Mixed ridgeline and forest (Kepler, Heaphy): Cold, windy tops quickly give way to damp valleys. Choose layers you can put on and strip off easily.
- Fiordland tracks (Milford, Kepler): High rainfall is part of the landscape. A good rain shell and a waterproof pack liner protect the insulation you rely on at day’s end.
Daily Hiking Wear
For most trails during the hiking season, a lightweight long-sleeved shirt or sun hoodie is ideal. They keep the sun off and saves constantly reapplying sunscreen. Pair it with hiking shorts or quick dry hiking pants, whichever you’re most comfortable in. Leggings are fine too, but be aware they soak up water quickly and dry slowly in damp huts.
I always take 3 pairs of quick-dry underwear, washing them each night, so I always have a clean pair. I team black undies with a black sports bra which doubles as a bikini if I get the chance to jump in a lake, or a hot spring.
Links to Items in this Section
- Sun Hoodie
- Lightweight Long-sleeved Shirt
- Quick Dry Hiking Pants
- Shorts
- Leggings
- Quick-dry Underwear
- Sports Bra


Winter Hiking Gear
If you're winter hiking, you need extra or warmer layers. Your T-shirt or sun-hoodie will be swapped out for a performance or merino base layer, and your hiking pants might be thicker.
Just be aware that hiking in all your warm clothes is counterproductive, You’ll quickly build up sweat, and once you stop, that moisture will chill you. It’s better to still keep to the basics and put on the extra warm layers during breaks or once you finish hiking for the day.
And this includes a beanie. While you’re hiking, your body generates plenty of heat and usually doesn’t need extra insulation on the head. But the head itself has very little natural insulation and cannot shiver to create warmth, so once you stop moving you can lose heat quickly. Putting on a beanie straight after exercise helps lock in warmth before you chill.
One cold-weather item that I do wear while hiking is a neck buff. It’s versatile; protecting your face and neck from cold wind, or pulled over your ears as a headband to keep them warm.
Links to Items in this Section

Sweet as Gear Guide
Pass this great guide on before the next New Zealand adventure!
Warm Layers & Hut Wear
Once the sun drops and/or you stop moving, the environment and your body can start to feel cold, very fast. A fleece mid-layer is a warm and comfortable item to put on straight away. It can keep you warm no matter if your clothes are damp, as the fibres are not absorbent.
I always carry a puffer as well. The warmth-to-weight ratio is excellent, plus they pack up really small. For extremely cold weather I'll take my down puffer, but for a more lightweight option, I'll use my PrimaLoft® Jacket. PrimaLoft is synthetic so if it gets wet, it'll still perform.
Merino base layers make excellent hut clothes. A long-sleeved top and leggings are warm, breathable, and comfortable to sleep in. They’re also less likely to smell after a few days without washing. I actually have a pair of merino joggers that I wear in the hut and for sleeping. They have lasted me for years.
Boots aren't allowed in the huts, so a comfortable pair of hut booties are nice to slip into – or just plain old crocs and socks.
Don't forget to pack your clothes in a Dry Bag!
Links to Items in this Section
- Fleece
- Down Puffer Jacket
- PrimaLoft Puffer Jacket.
- Merino Base Layer – Top
- Merino Leggings
- Merino Pants
- Hut Booties
- Crocs


Wet Weather Gear
Rain is a given on New Zealand tracks, so a proper waterproof jacket is essential. When choosing a waterproof jacket, a couple of things are important. Firstly, the level at which the jacket is waterproof .
Waterproof ratings are measured in millimetres using a hydrostatic head test, which shows how much water pressure the fabric can resist. Around 5,000 mm handles light rain, 10,000 mm copes with steady showers for a while before dampness occurs, and 15,000–20,000 mm withstands full-day downpours.
You will also need to make sure your jacket has a storm flap or a waterproof zip. This stops water getting in through the front opening.
Waterproof pants are optional, some hikers prefer to let their legs get wet, but they can make long days in cold rain uncomfortable. A rain kilt is another alternative many walkers swear by for keeping the top part of your legs dry – in fact this is my preference.
A couple of other smaller items that will make your rainy days far more comfortable include waterproof gloves and waterproof socks.
Links to Items in this Section


Footwear
The tracks on the Great Walks are well formed, but you’ll still meet mud, stream crossings, and potentially very damp days.
If you are tackling any of the other hikes that make up the 10,000 km of hiking trails in New Zealand, the tracks may not be as well formed, and the mud, stream crossings, and dampness will be amplified.
Hiking boots and trail runners both have their place on New Zealand tracks. Boots give more ankle support, warmth, and weather protection, with deeper lugs for grip on mud and slick ground. They also resist water better in rain and wet grass, but once soaked, they take a long time to dry.
Trail runners, on the other hand, are lighter and more breathable, with cushioning that eases long descents. They drain quickly after puddles or stream crossings, but their shallower tread doesn’t bite as firmly in mud or on steep, slippery sections.
Whatever you choose, it's really important to break them in before your walk.
A good tip is to use good-quality merino socks that wick moisture away. Many cheaper “merino” socks are mostly synthetic and can do more harm than good. Three pairs are usually enough: one to wear, one drying from the night before, and a fresh pair to rotate in after washing.
Links to Items in this Section
- Hiking Boots
- Trail Runners – Topos are my favourite
- Merino Socks


Accessories
A few extras can make a big difference to both comfort and safety.
Hiking poles are a valuable tool for stability and joint protection on the trail. By distributing body weight more evenly, they ease pressure on your knees during long descents, give stability in mud, and make stream crossings safer.
A bum bag or (fanny pack) is handy for snacks, sunscreen, and your phone so you don’t need to keep opening your main pack. Sometimes the side pockets just aren't enough.
A small sit pad gives you somewhere dry and comfortable to rest on damp ground during breaks, or adds a bit of comfort to hut benches. The Gossamer Gear packs actually have one included as part of the pack
A whistle often built into a sternum strap, but if not this weighs next to nothing and is a reliable way to attract attention if you’re lost or injured.
An emergency blanket (Space Blanket) is another lightweight item with many uses. It can keep you warm if you or someone else is injured, work as a temporary groundsheet, add insulation under your sleeping pad, or be used as a reflective signal for search and rescue.
Links to Items in this Section


Sun Protection
Sun protection is vital in New Zealand, where the thinner ozone layer and clear skies mean stronger UV rays that can burn skin quickly, even on cool or cloudy days.
The beauty of a sun hoodie, is that it can be worn over a cap, giving you full protection. Otherwise a wide-brim hat is pretty much essential.
Sunglasses are important for protecting against New Zealand’s harsh rays, and polarised lenses are the best choice. They use a special filter that blocks horizontal light, reducing glare from water, snow, and rock where UV exposure is strongest. Repeated UV exposure increases the risk of long-term eye damage, making quality sunglasses an essential part of your kit.
I use Ombraz Sunglasses for more reasons than one. They are extremely comfortable (there are no pressure points), the frames are indestructible, and they use a high quality Zeiss polarised lens – AND they use a cord instead of arms so they do not fall off. Told you there was more than one!
Another tip, if you use poles, your hands can be highly exposed to UV rays. I almost never hike without my sun gloves.
Links to Items in this Section


Sleep System
Huts in New Zealand are simple. Although there are various levels of huts, the bed is virtually the same in all of them: a standard four-inch vinyl-covered foam mattress, usually on a bunk bed. It’s up to you to bring your own bedding. Most huts do not have electricity, so apart from a wood-burning stove, there is no heating. So let’s look at bedding and how to keep warm at night.
A three-season sleeping bag or quilt is usually enough for any of the huts during hiking season. Alpine huts on the Routeburn or Tongariro can still be cold at night, while those in warmer climates, such as the Abel Tasman, are much milder. I use a -5°C / 22°F quilt, which I find ample, but if you sleep cold you might like to consider a Thermolite liner, which can raise your sleeping bag warmth by around 10°C.

Free New Zealand Hiking Packing List
Pack light and stay organised for your next hike on Aotearoa's famous trails. Add notes, save or print, and share with your hiking partners so everyone knows what’s covered. Works on any device.
You can also use a Thermolite liner as a hot-weather sleeping bag if you’re hiking in the height of summer. I use a silk sleeping bag liner alongside my quilt to have something underneath me, but I’ve never used it on its own, as it’s very thin (though extremely lightweight).
Pillows aren’t provided. Some hikers bring a small inflatable pillow, but I prefer the lightweight option of stuffing spare clothes into my “special” dry bag, which turns inside out to become a pillow. It's magic!
Your sleep health is very important for two reasons: muscle repair during the night and cognitive function the next day. A few items will assist with this.
Earplugs and an eye mask make all the difference. Huts are communal, which means snorers, rustling gear, and headlamps switching on and off at odd hours. Blocking out noise and light helps you sleep more soundly. Just make sure the earplugs are soft enough to sleep with, and choose an eye mask with a raised rim so there’s no pressure on your eyes.


Talking of headlamps, make sure yours has a red or green light setting so you can use it at night if you need to get up. Not only will this be less intrusive to your roommates, but it will also have less impact on your circadian rhythm.
Links to Items in this Section
- 3-season Sleeping Bag
- Quilt
- Thermolite Liner
- Silk Sleeping Bag Liner
- Dry bag>Pillow
- Inflatable Pillow
- Earplugs
- Sleep Mask
- Headlamp (with red or green light)
Cooking and Food
Cooking in New Zealand huts is a bring-your-own setup. Most huts have stainless steel benches for food prep, and sinks with running water, but you’ll need to carry your own stove and fuel. Gas burners are only provided in some Great Walk huts, but not all. However, gas is easily available in the larger towns at any camping store, as hunting as well as hiking is big in New Zealand.
I carry a simple camp kitchen: a lightweight pot that doubles as a bowl, a cup for hot drinks, and a spork. For those who prefer a bowl, there are some good collapsible bowl options out there.


For cleaning, I cut a simple scourer pad into a circle, which helps to get into the corner of the bottom of the pot and a small microfibre cloth to replace dishcloth and tea towel. For dishwashing liquid, I tend to just use the all-purpose Wilderness Wash.
Aim for meals that are light to carry, easy to hydrate (or cook), and don’t generate much rubbish, since you’ll be carrying out every scrap. I repack almost everything into reused ziplock bags, that way the amount of rubbish you generate is minimal. Crackers etc might get a bit crushed, but they are going to end up that way anyway. Check out my Overnight Oats Recipe if this is not yet on your food list.
Coffee deserves its own mention. If, like me, you can’t start the day without it, bring a setup that suits your weight budget. A Jetboil with a plunger attachment, an Aeropress, or even coffee bags all work well. It’s one luxury I always make space for.
Links to Items in this Section
- Lightweight Stove (my personal choice)
- Jetboil Zip (perfect if just boiling water)
- Jetboil Zip Coffee Plunger
- Cup
- Bowl (optional)
- Spork
- Small Scourer (cut into circle shape)
- Small microfibre cloth
- Aeropress
- Cooking Pot
- Wilderness Wash


Hydration and Water Treatment
Water is plentiful on New Zealand tracks, but that doesn’t mean it is always safe to drink straight from the source. Knowing when to treat your water and when you can safely drink it untreated can make a difference to both safety and pack weight.
Mountain streams with no farmland above your source are generally fine to drink untreated. On the other hand, water from streams and rivers in or near farmland should always be treated. There are several ways to do this: you can either use a water filter, a UV Steripen, or water purification tablets.
Regardless of how you treat your water or type of vessel, it's extremely important to keep your fluids up. In fact, mild dehydration can begin affecting you before you even feel thirsty, and even a mild loss of fluids can interfere with concentration, slow your reactions, and reduce spatial awareness.
And electrolytes are also important. Even in cooler weather you’ll be sweating more than you realise, When you sweat, your body also sheds electrolytes, which are essential for functions such as muscle contraction, nerve signalling, and keeping fluid levels balanced.
I go into all of this in detail in my book Hike it Right, which is a free resource for my readers. Click below to download it if you have not already, it’s full of useful information.
Links to Items in this Section
- Water Bottle
- Water Filter
- Water Bladder/Hydration Reservoir
- UV Steripen
- Water Purification Tablets
- Electrolytes Tablets
- Electrolyte Chews

Merino & Rain Jacket: Sorted
Share with anyone gearing up for some tracks in New Zealand!
Navigation and Safety
Most of the main tracks in New Zealand are very well marked and easy to follow. But conditions can change quickly, and fog or heavy rain may reduce visibility to just a few metres. It’s always a good idea to download your trail into a GPS app such as FarOut or AllTrails, which can be used offline.
A paper map and compass are a reliable back-up, especially on more remote trails. These aren’t strictly necessary on the Great Walks or other popular tracks, but they are worth carrying if you plan to venture further into the backcountry.
If you do get lost or injure yourself, you may be miles from the nearest town or even a road. Having a satellite emergency communication device is strongly recommended. There are two types on the market: a Personal Locator Beacon (PLB), such as the RescueMe, or a Satellite Emergency Notification Device (SEND), such as the Garmin inReach Mini.
Both send a distress signal via satellite directly to local search and rescue. SEND devices like the Garmin inReach or Zoleo also allow two-way messaging, which can be useful, but they require a subscription. Either option will alert local emergency services to your location.
At the time of writing, search and rescue operations in New Zealand are free. However, as with any public policy, this could change quickly. I’ve been in a country where I thought rescue was free, only to find out on arrival that it wasn’t.
Because of that, I now use an annual subscription with Overwatch x Rescue, which provides helicopter evacuation to the nearest hospital and includes repatriation if needed. It’s a small annual fee to pay if you hike regularly.
Finally, make sure you take a first aid kit. Hiking in New Zealand is a remote sport, so you need to be able to patch yourself up. The most common injuries are cuts, sprains, and slips, so your kit should match the likely risks. We have a full guide on what to include in a hiking first aid kit, it's worth a read.
Links to Items in this Section
- FarOut
- All Trails
- New Zealand Topo Maps
- Compass
- RescueMe Personal Locator Beacon
- Garmin inReach Mini
- Overwatch x Rescue
- First Aid Kit


Hygiene and Toileting
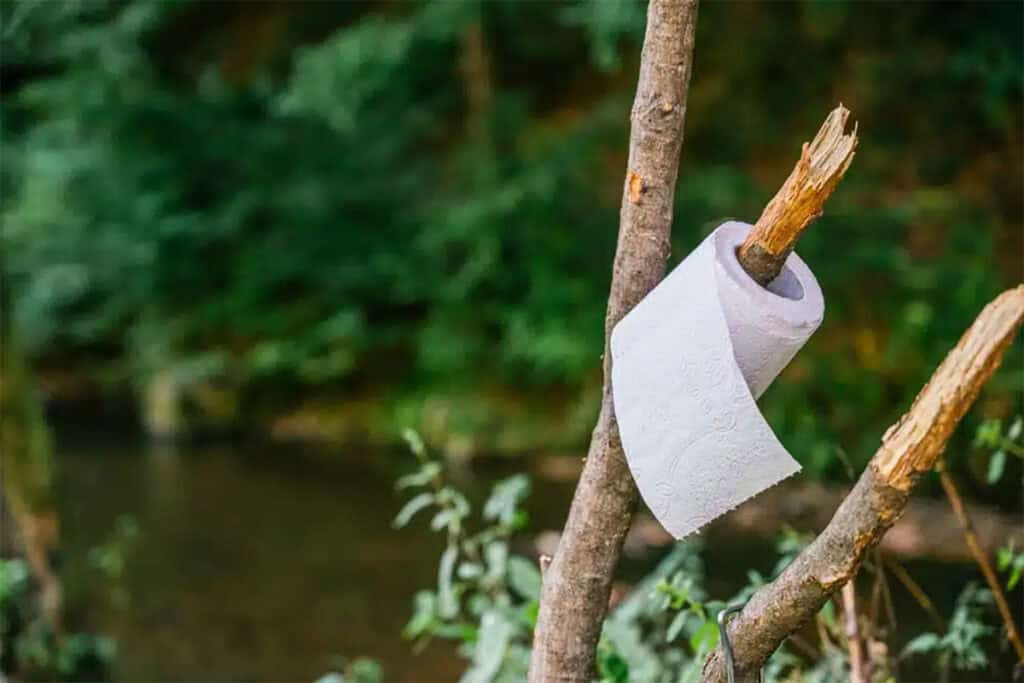
Even though the Great Walks and most hut-to-hut tracks in New Zealand have toilets, you may still find yourself needing to “go” on the trail, so it’s important to know how to toilet responsibly and what to carry to do so. You need to carry a “poop kit”
We have a dedicated article on how to go to the toilet on the trail, including how to manage “number twos” and how to properly dispose of them. Your “poop kit” should include a trowel and doggie bags for toilet paper, or an outback bidet if you choose not to use toilet paper. Ladies, when urinating, will benefit from a Kula Cloth (pee cloth) or even a Female Urination Device (FUD), which allows you to pee standing up.
If all of this sounds like gobbledygook to you, I recommend having a read of our article! We also cover hiking with your period, which you may find interesting.


For personal hygiene, keep it simple. I transfer my toothpaste into reusable toothpaste tubes, though you can also just carry a small one. Do the same with all other toiletries by decanting them into small travel bottles, preferably with screw lids rather than flip lids (spoken from experience). The huts do not have showers, so I carry an ultralight foldable dog bowl that I can take into the toilet to wash parts of my body that need freshening up.
Another useful item is a small travel towel, not only for drying yourself after a wash, but also if you take a dip in a lake or hot spring.
Links to Items in this Section
- Kula Cloth
- Female Urination Device (FUD)
- Trowel
- Doggie Bags (for packing out toilet paper)
- Outback Bidet (Backcountry Bidet)
- Hilltop Poop Kit Bag
- Menstrual Cup (Period care)
- Reusable Travel Size Toothpaste Tubes
- Reusable Travel Size Bottles – Screw -top
- Toothbrush, toothpaste, deodorant, Wilderness Wash
- Small Foldable Quick-dry Towel


Technology and Power
For most hut-to-hut hikes in New Zealand, two 10,000 mAh power banks are usually enough to keep your phone, headlamp, and GPS device running. Huts do not have electricity, so you cannot recharge along the way. How much capacity you need depends on how often you use your phone for photos, maps, or journaling, but a second bank gives peace of mind on longer tracks.
Cold weather also drains batteries more quickly. If the hut is cold at night, keep your power banks and phone inside your sleeping bag to help preserve charge.
Links to Items in this Section
- Power Banks (10000 mAh)
- Charging Cables,
And that's a Wrap!
Thank you so much for making it this far. It's a long list of must haves – but remember, you don't need umpteen of everything. Every item has to earn its place in your pack, so choose lightweight when you can.
If health, safety and hygiene on the trail are of interest, I'd love you to grab a copy of my book Hike it Right – Jam packed full of useful information. With everything from frostbite to how electrolytes work in your body, to how important sleep health is on the trail – this book has it all. And it's free for my readers! Get Hike it Right
And lastly, if you found this gear list helpful, please share it with your mates, or anyone else planning a New Zealand trip. It would mean the world to me!
Tēnā koe ā tae noa ki te wā e whai ake nei (Thank you and until next time!)