
Walls of Jerusalem Tasmania to the Overland via Lees Paddock- Track Notes
Did you know you can hike the Walls of Jerusalem in Tasmania to the Overland via Lees Paddock?
In 2022 I set out on an epic journey that incorporated Walls of Jerusalem hikes with the Cradle Mountain-Lake St. Clair National Park’s Overland Track to summit Mt Ossa in one hit.
Like many newbie “Overlanders”, when I first embarked on the Overland Track, I thought that's what the park was about. But, when I witnessed hikers arriving off the Never Never Track, to Hartnet Falls – I realised there was much more!
The hundreds of kilometres of hiking trails within the Walls of Jerusalem Tasmania and Cradle Mountain-Lake St Clair National Park take you to places far more remote and just as spectacular as the Overland Track – and all this for free.
There are various trailheads on Cradle Mountain park's eastern side, and a couple of tracks enter Cradle Mountain-Lake St Clair from the Walls of Jerusalem National Park. Entering the park via Lees Paddock is one of them, and another is the famed Never Never Track.
In January 2022, we embarked on an epic hike with a loose itinerary and enough food for 9 days. This flexibility allowed us to take each day as it came, adapting our route and pace while ensuring we were near a trailhead or transport option before our supplies ran out.
Initially, I wanted to hike the Never Never Track from Junction Lake in the Walls of Jerusalem Tasmania to Hartnett Falls on the Overland. However, I wanted to hike Mt Ossa, having missed it the previous year during my hike of the Overland Track.
By putting maps together, I could easily see the connecting trails, rather than piecing everything together from an online source. You can also discover many other hikes to add to your bucket list. Beware, it’s addictive!
This article may contain affiliate links. If you make a purchase using one of these links, we may receive compensation at no extra cost to you. See our Disclosure Policy for more information.
Maps for the Walls of Jerusalem Tasmania to the Overland via Lees Paddock
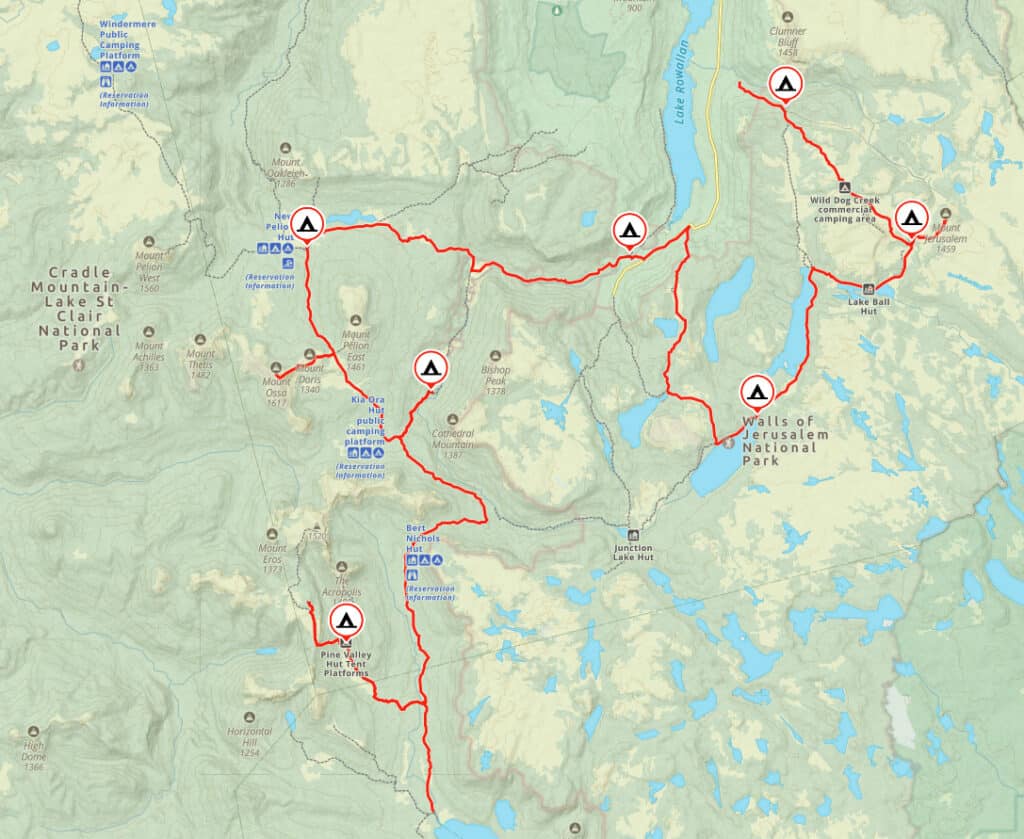
Elevation Profile
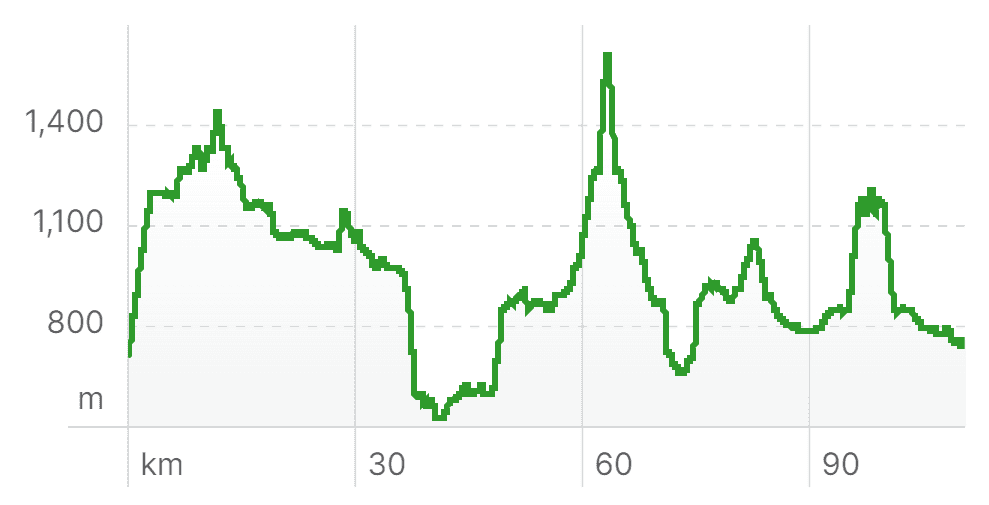
When free-wheeling it, good maps are essential (and good to work with; you get a much better view of the lay of the land). I purchased the following maps from TASMAP the official Tasmanian mapping office.
Cradle Mountain-Lake St Clair National Park
Walls Of Jerusalem National Park
From my research, I learned of a trail leading into Cradle Mountain National Park off Mersey Forest Road, only 2 km west of the southern entrance to Walls of Jerusalem Tasmania NP. Following this trail, we would reach Pelion Hut, from which we could summit Mt Ossa.
If one arrives via the Arm River Track, which connects to the Lees Paddock Track, it's possible to spend two nights at Pelion Hut.
Having always wanted to explore the Walls of Jerusalem in Tasmania, this flexible itinerary seemed ideal. Originally, we had considered returning through the Never Never Track to reach Launceston. However, an extra couple of days allowed us to lengthen our journey to include Pine Valley Hut and an exit through Lake St Clair.


Walls of Jerusalem Tasmania Track Notes
Day 1 – Mersey Forest Rd Northern Walls Of Jerusalem Trailhead Carpark to Trappers Hut
|
Distance: |
2.5 km /1.55 mi |
|---|---|
|
Elevation Gain: |
380 m /1246 ft |
|
Time: |
1.25 hrs |
|
Difficulty: |
Hard |
Arriving at Launceston airport late afternoon, we got into our prearranged ride and headed for the Walls of Jerusalem. There are a few options to get to the Walls of Jerusalem in Tasmania: shuttle, public bus that will take you as far as Mole Creek, or you can get a private ride – as we did.
Log Your Trip Intentions!
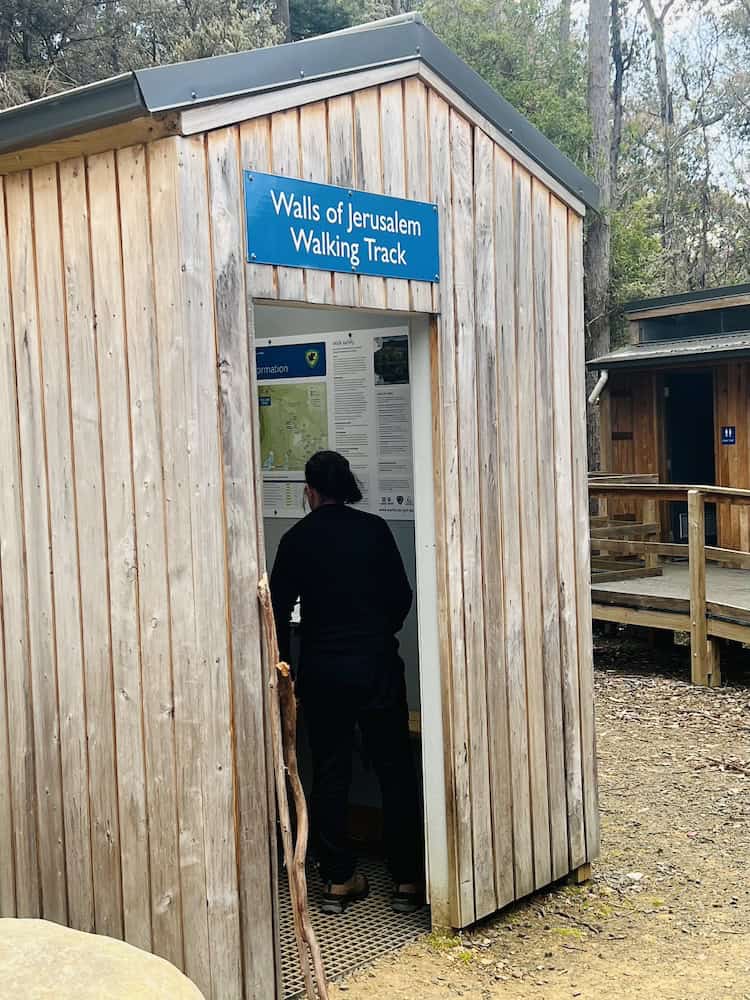
We arrived at the Walls of Jerusalem trailhead car park on Mersey Valley Road around 5 pm.
With daylight savings granting us extra light, we made sure to log our hiking plans in the park's logbook housed in the car park booth. These logbooks, essential for safety on all Walls of Jerusalem hikes, assist Search and Rescue in locating hikers who are overdue or in danger (bush fire etc), and are an important step in preparing to hit the trails.
They’re available at all trailheads, so if your plans change, you can update your intended route as you journey through.
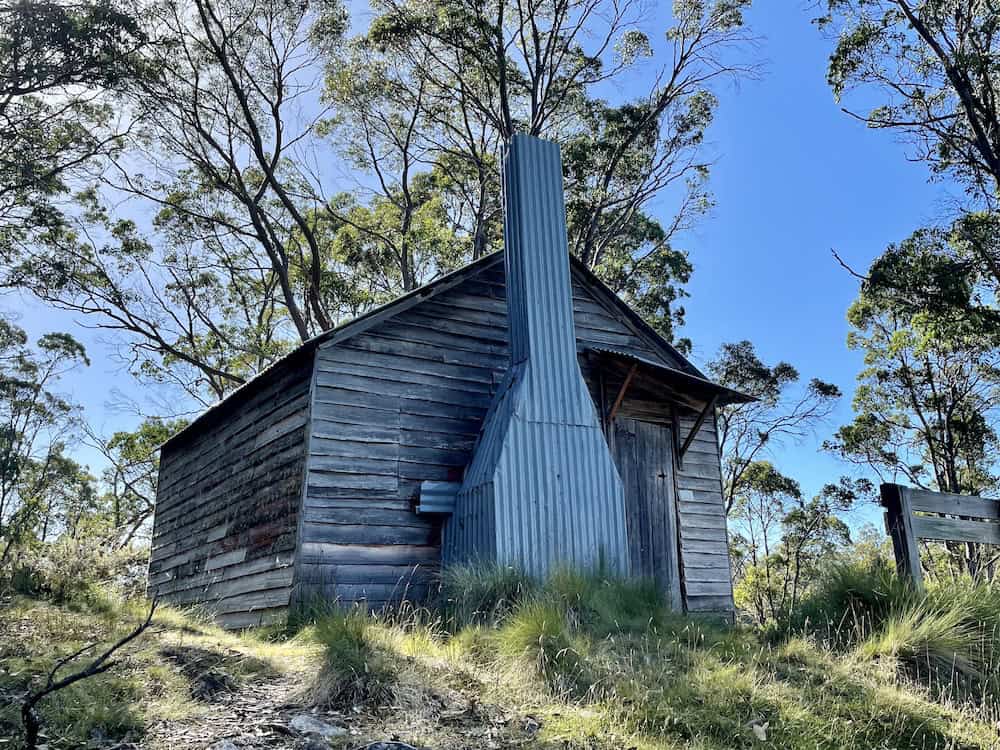
Trappers Hut
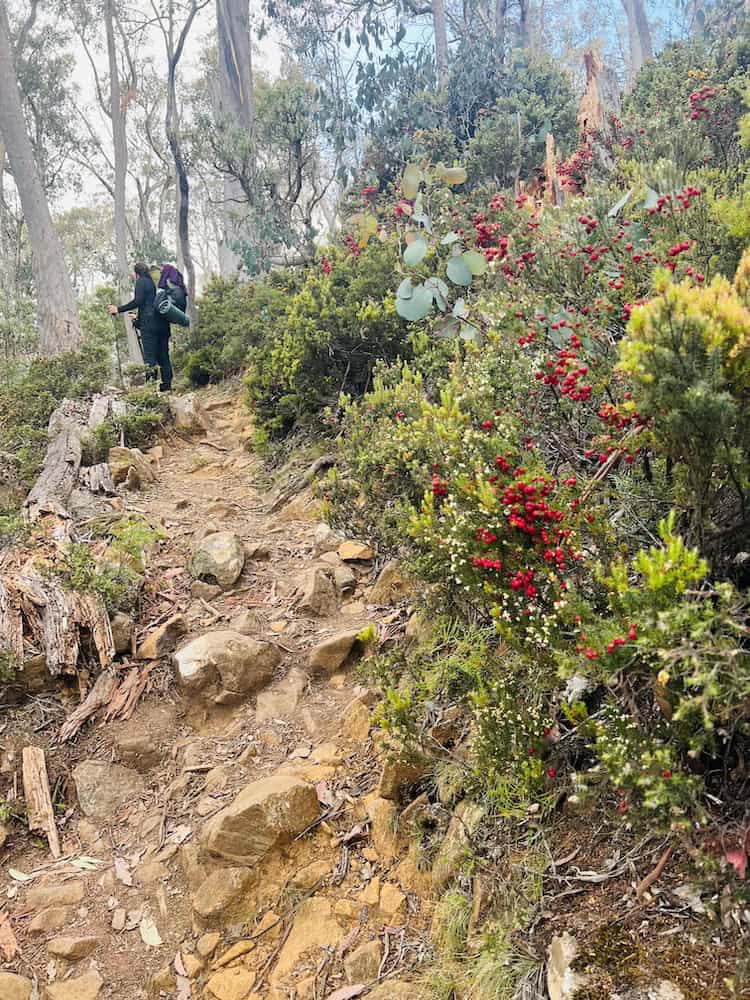
And so we began our climb up to Trappers Hut. Not going to lie; it was slow going, weighed down by 9 days' worth of food. Uncertain about water availability, we each carried three litres in case we had to wild camp before the tarns due to our late departure.
Our initial goal was to find a flat spot near the beginning of Solomons Jewels.
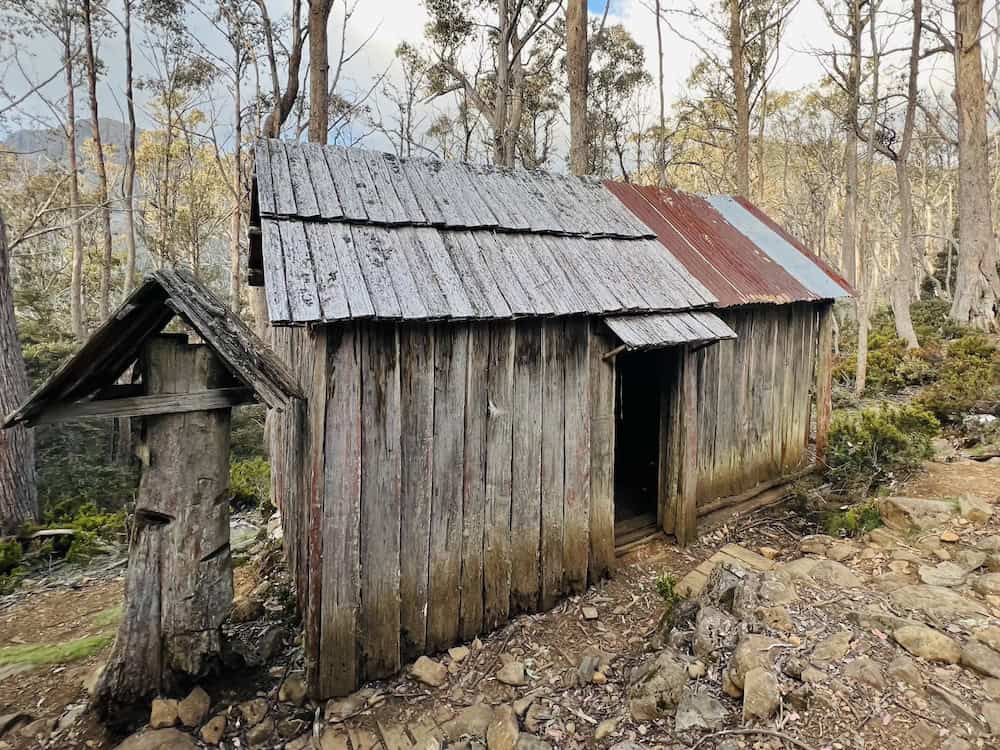
However, by 7 pm, the weather had turned, and we faced below-zero temperatures—a possibility even at the end of December. We made it as far as Trappers Hut and, considering our situation an emergency, we settled in there for the night.
Day 2 – Trappers Hut to Dixons Kingdom Campsite
|
Distance: |
8.5 km /5.28 mi |
|---|---|
|
Elevation Gain: |
1342 m /4402 ft |
|
Time: |
3 hrs |
|
Difficulty: |
Easy |
Wild Dog Campsite
We set out from Trappers Hut at the crack of dawn, greeted by bluebird skies. Overnight snow had adorned our route to Wild Dog Campsite, which sits at the base of the majestic King Davids Peak.
It's an ideal campsite for those on Walls of Jerusalem hikes, complete with wooden tent platforms that both accommodate campers and help to preserve the fragile Tasmanian terrain.
If you're unfamiliar with these platforms, we have a useful guide on how to use wooden tent platforms that you'll want to read.
Solomons Throne and The Temple
It's around this part of the park that the Walls of Jerusalem's playground opens up. Side trips and stops are plentiful, and many of the geographical features with biblical references, including Herod's Gate, Lake Salome, Solomon's Jewels, Damascus Gate, and the Pool of Bethesda.
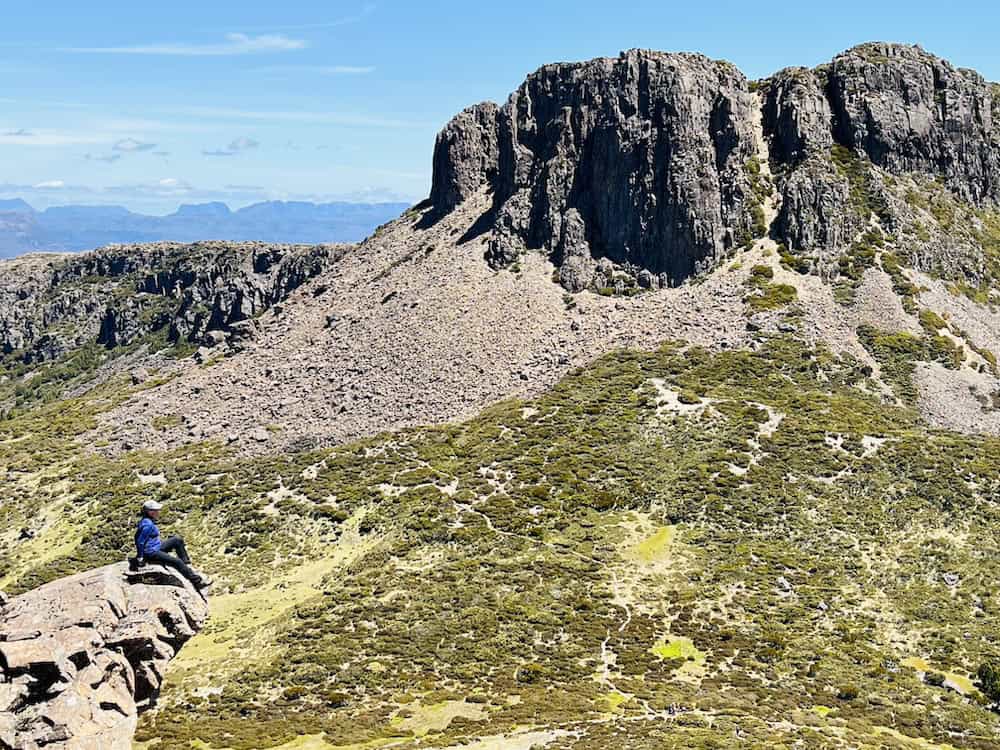
We continued our hike with ascents of Solomon's Throne and The Temple, which are two amazing hikes on either side of the track, each with awesome views extending for miles.
Dixons Kingdom
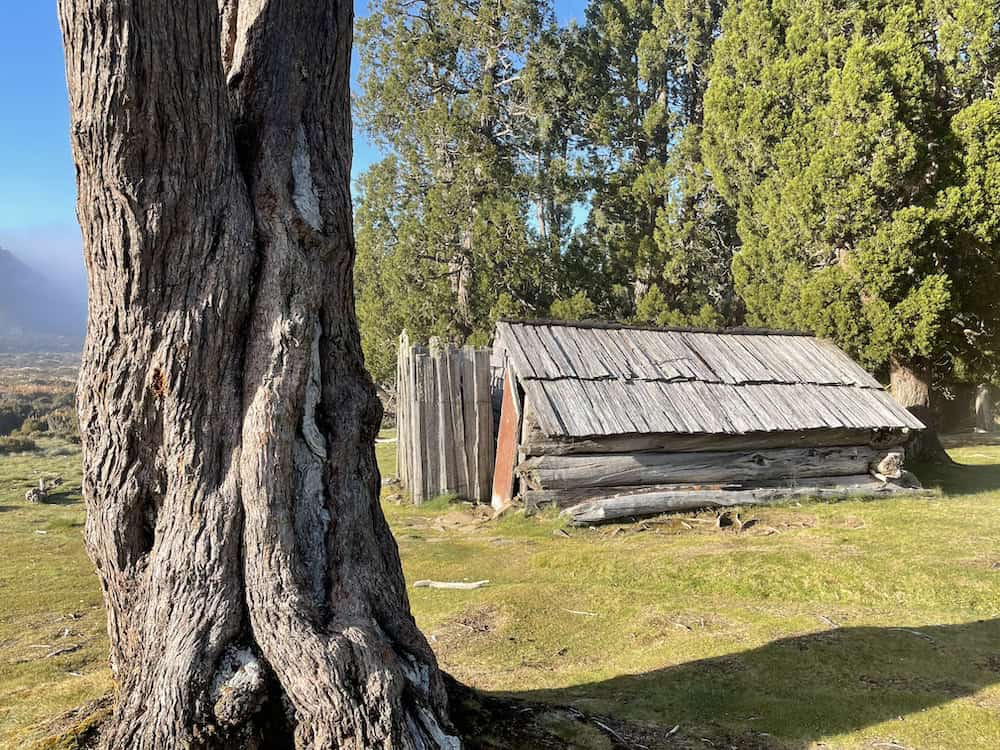
Next stop is Dixons Kingdom Campsite. The historic Dixon Kingdom hut is a low-set rustic wooden log cabin. It was built in the 1950s to shelter Reg Dixon and his drovers as they brought cattle down for the summer.
Nowadays, the historic hut is only for emergency purposes, with the camping area a little way to the west of the hut. It's a beautiful spot to camp as there are plenty of freshwater streams to fill up, shrubs to create privacy, and long drop toilets. For those who don't like fresh stream water, there's a water tank for your convenience.
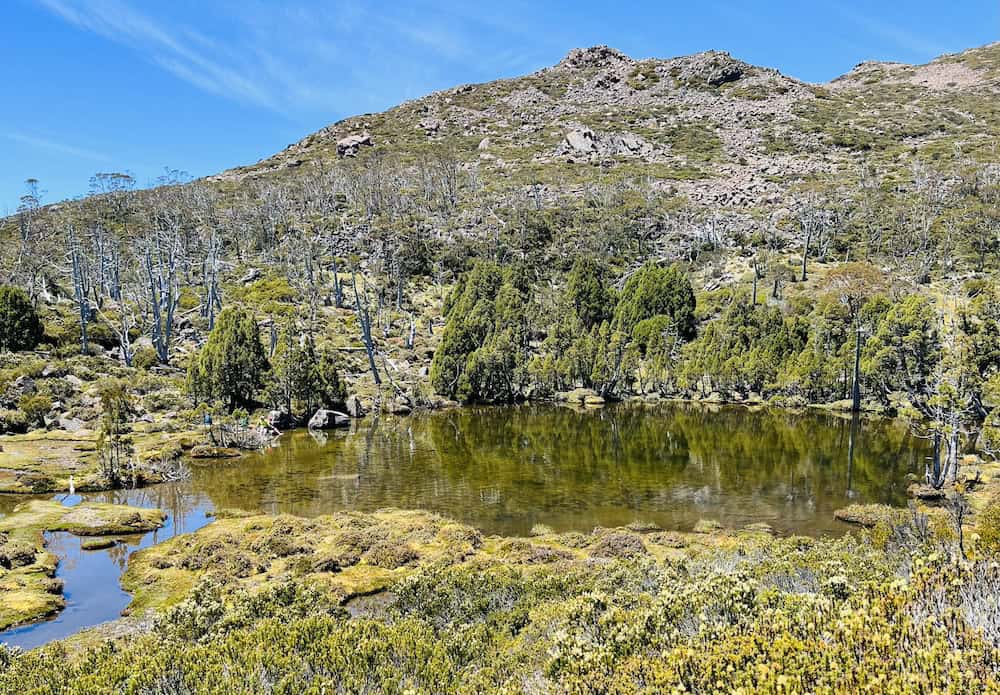
Once we set up our tents, we headed for Mt Jerusalem, a relatively easy summit at just 2 km and 188 m elevation. There are some lovely little sparkly tarns on the way up. The views from Mt Jerusalem summit are impressive, and worth the extra hike up.

Pack Light, Pack Right – Free Interactive Checklists
No More Overpacking. No More Forgetting Essentials.
Our free interactive packing lists help you pack methodically and remember everything. Add notes, quantities, save or print, and share with hiking partners so everyone knows what’s covered and what they need. Works on any device.
Available for multi-day wilderness camping, hut-to-hut hikes, and inn-to-inn walks, with new lists added frequently.
Day 3 – Dixons Kingdom to Lake Meston Campground
|
Distance: |
13.77 km /8.55 mi |
|---|---|
|
Elevation Gain: |
1266 m / 4153 ft |
|
Time: |
6 hrs |
|
Difficulty: |
Medium |
The ranger came around in the morning and sussed everyone out, asking leading questions such as “Where are you heading?” and “Can you show me on a map?”
Conversational questions to see if you were a hiker with some experience or were totally unprepared for a national park such as Walls of Jerusalem, Tasmania with limited infrastructure.
They also mentally note who is in the park should an emergency arise. The rangers in Tasmania do a fantastic job – Oh, to be young again, I'd love to do that! We quizzed the ranger for the track condition heading down to Lake Meston and started on our way.
Lake Adelaide
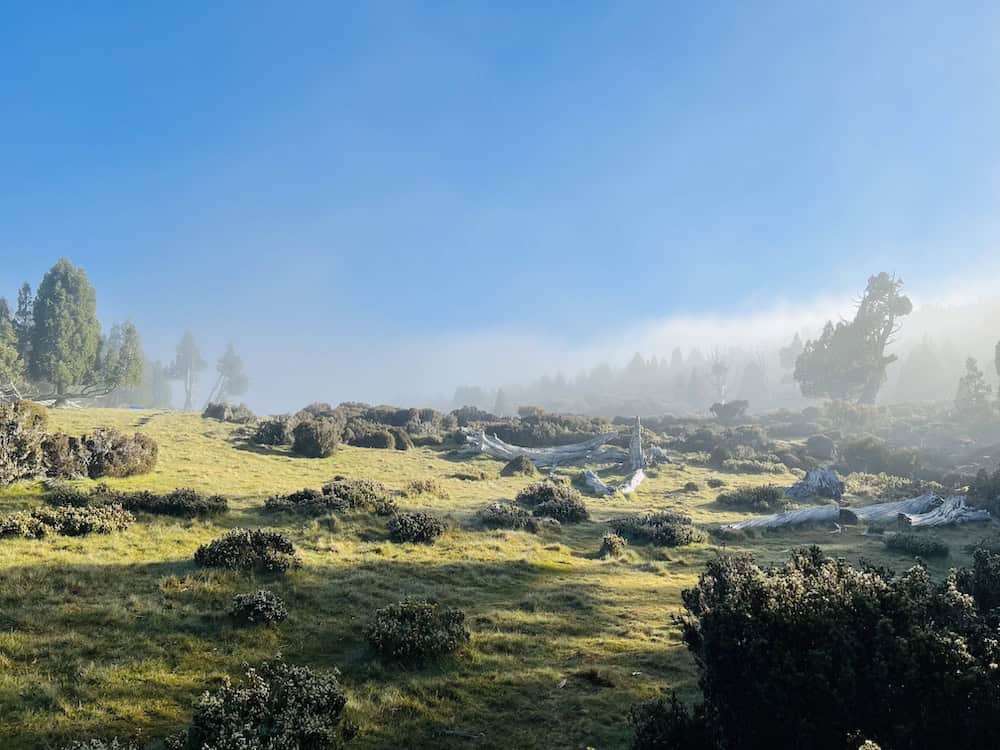
The track to Lake Adelaide winds past Lake Ball and the Lake Ball backcountry hut, which was the prettiest part of the hike that day with Mt. Moriah in the distance.
The path to Lake Adelaide is a metal grid boardwalk – the kind that eats your hiking pole tips. So you will probably carry your poles over this section. While it was pretty, we were eager to keep going, so we only stopped for morning tea at Lake Adelaide before heading south along Junction Creek Track.

Wild, Quiet, Unforgettable.
Know someone who hikes for the right reasons? Send this.
Lake Meston
Junction Creek Track was fairly overgrown in some parts, so you sometimes felt like you were bush-bashing. I hung my socks on the outside of my pack to dry and lost them along this part of the track.
I alerted a group of women walking the other way that they'd come across a brand new pair of expensive merino socks along the trail – and Merry belated Christmas. We learn these lessons as we go!
Arriving at Lake Meston was a highlight of the entire hike. The campground is on the shores of beautiful Meston Lake.
We were the only ones there, and quite possibly the only people for miles – so stripped off and enjoyed a “nature swim” – very welcome after the 6 hours of pushing through an overgrown track!
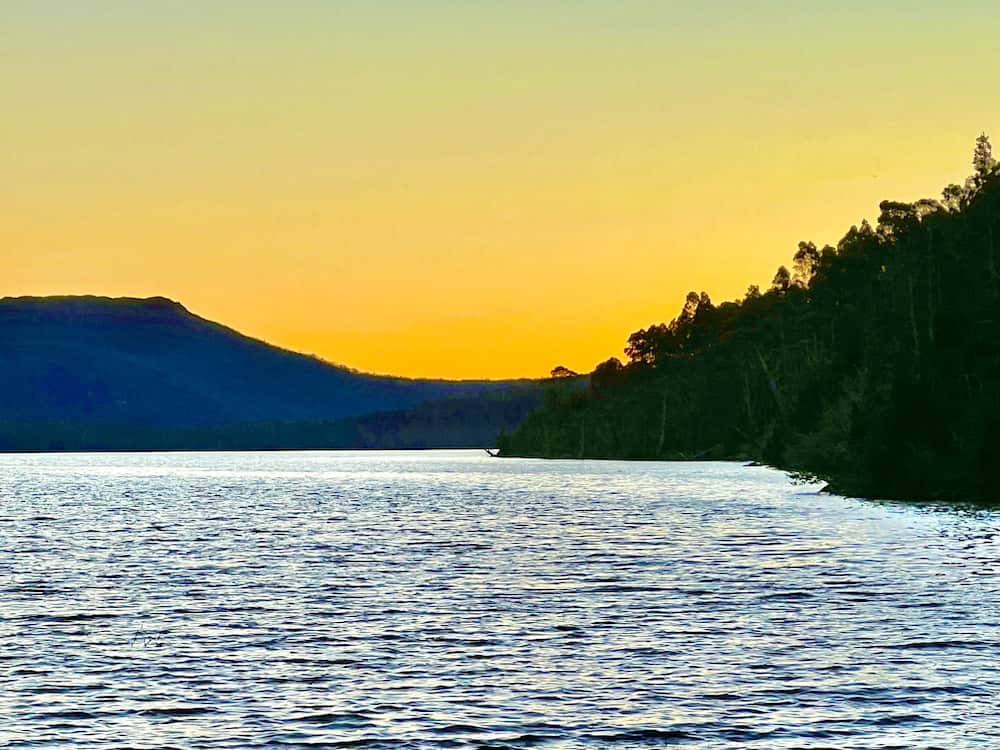
That evening, we had our private beachside dinner as dusk fell. The colours over the lake were gorgeous – as was the dawn light the following morning. There are no amenities at Lake Meston, so practice LNT principles.
Day 4 – Lake Meston Campground to Pine Plain Hut
Walls Of Jerusalem Tasmania – Crossing into Cradle Mountain-Lake St Clair National Park
|
Distance: |
16.83 km /10.45 mi |
|---|---|
|
Elevation Gain: |
1152 m / 3779 ft |
|
Time: |
8 hrs |
|
Difficulty: |
Hard |
Lake Myrtle
The track continues down the westerly side of Lake Meston before heading north on the Lake Myrtle Track. This track took us out of the Walls of Jerusalem, Tasmania via the southern Mersey Forest Road trailhead (Lake Myrtle car park).
The trail down to the road was challenging, it was definitely steeper and the track was a lot looser than the track leading up to Trappers Hut just down the road.

Pine Plain Hut
Not to be confused with Pine Valley Hut on the Overland Track, Plain Pine Hut lies off the beaten path, nestled between Mersey Forest Road and Cradle Mountain-Lake St Clair National Park.
The entrance to Pine Plain Hut is just a stone's throw away from Lees Paddock car park on Mersey Forest Road – and 2km from Lake Myrtle car park, making it a convenient access point for Overland via Lees Paddock explorers.
As you set foot on the Lees Paddock Track, a short journey brings you to a quaint swing bridge spanning the Mersey River, which marks the way to Pine Plain Hut.
You cannot use the hut, but there is a large open area on the banks of the Mersey River for yet another gorgeous campsite.— a perfect stop for hikers doing the Overland via Lees Paddock and or Walls of Jerusalem hikes.
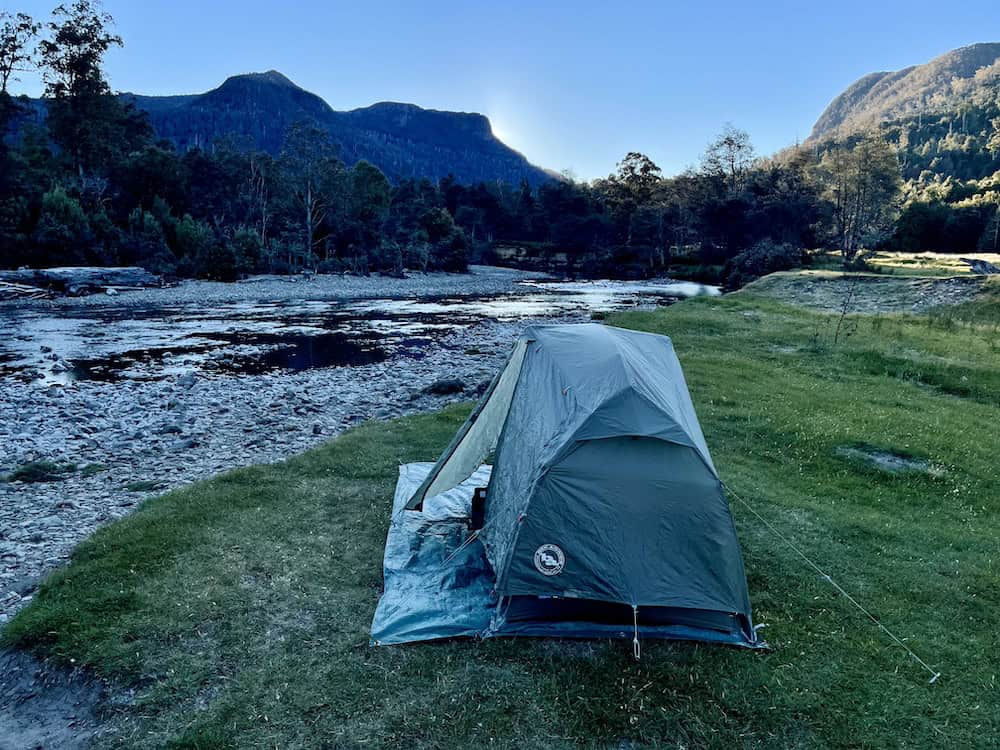
Note: The upstream river is on cattle grazing ground at Lees Paddock, so make sure you filter the water at this spot.
Cradle Mountain-Lake St Clair Track Notes
Day 5 – Pine Plain Hut to New Pelion Hut – the Overland via Lees Paddock
|
Distance: |
17.16 km /10.66 mi |
|---|---|
|
Elevation Gain: |
920 m /3018 ft |
|
Time: |
8 hrs |
|
Difficulty: |
Medium – Hard |
Lewis and Oxley Falls
A short walk from the campsite at Mersey River, you reach the Cradle Mountain-Lake St Clair park boundary.
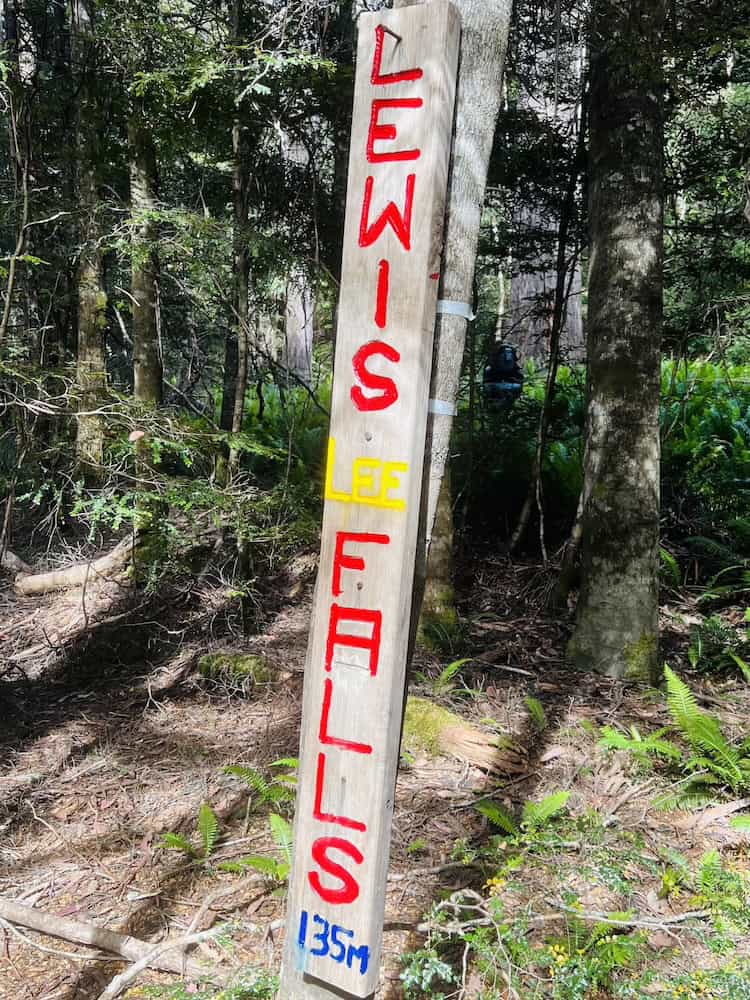
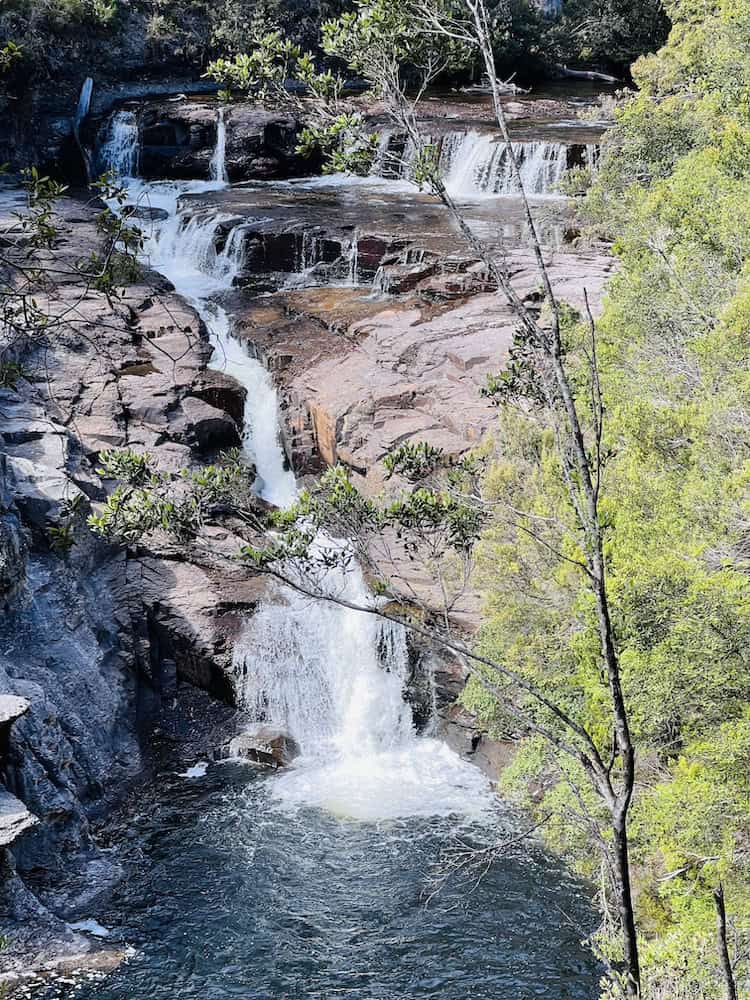
The undulating track continues alongside the Mersey River, and a couple of sidetracks head down to Lewis and Oxley Falls. On a hot afternoon, these falls would be a welcome opportunity for a cool dip.
Lees Paddock
Lees Paddock is a private farmland block within the Cradle Mountain-Lake St Clair park. While you don't need permission to walk through, you do need permission to camp or use Lees Hut. There's a large field south of the hut where about 3 tents were set up. As far as I am aware, there is no fee to use this camping spot, but you do need to call the owners beforehand.
To contact the owners for camping or staying at Lees Paddock:
Judy Kilby 0439 334 663
Grant Evans 0408 133 421
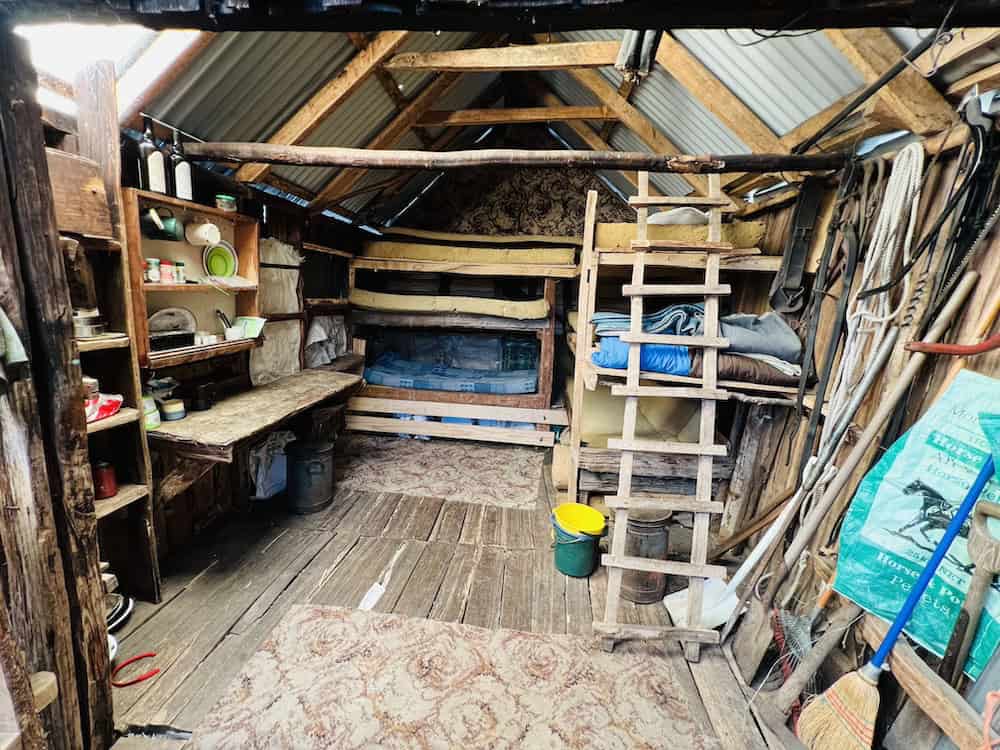
Lees Hut has 6 bunks (with mattresses!), rugs on the floor and running water from a water tank. It's rustic but homely. There was a sign on the hut wall, advising visitors to be respectful and keep the hut tidy, otherwise they will have to take away the public access.
Obviously, previous visitors had not done the right thing, and the ability to use the hut was in jeopardy – hopefully, this is not the case as you read this.
We stopped for a brief lunch before continuing on our journey towards the Overland via Lees Paddock.
At Lees Hut, the track forks, and you can either travel south towards Reg Wadley Hut (which is the original way we planned to return), or head north towards the Arm River Track,
At the junction of the Arm River Track that leads onto Pelion Hut is another walker registration log book – again, fill it in. It'll make the ranger's job so much easier if an emergency occurs.
Today was the hardest day. There was a sharp incline straight after Lees Paddock that we ended up tackling at midday, and it was so hot, the track was steep, and that climb was brutal!
Lake Ayr
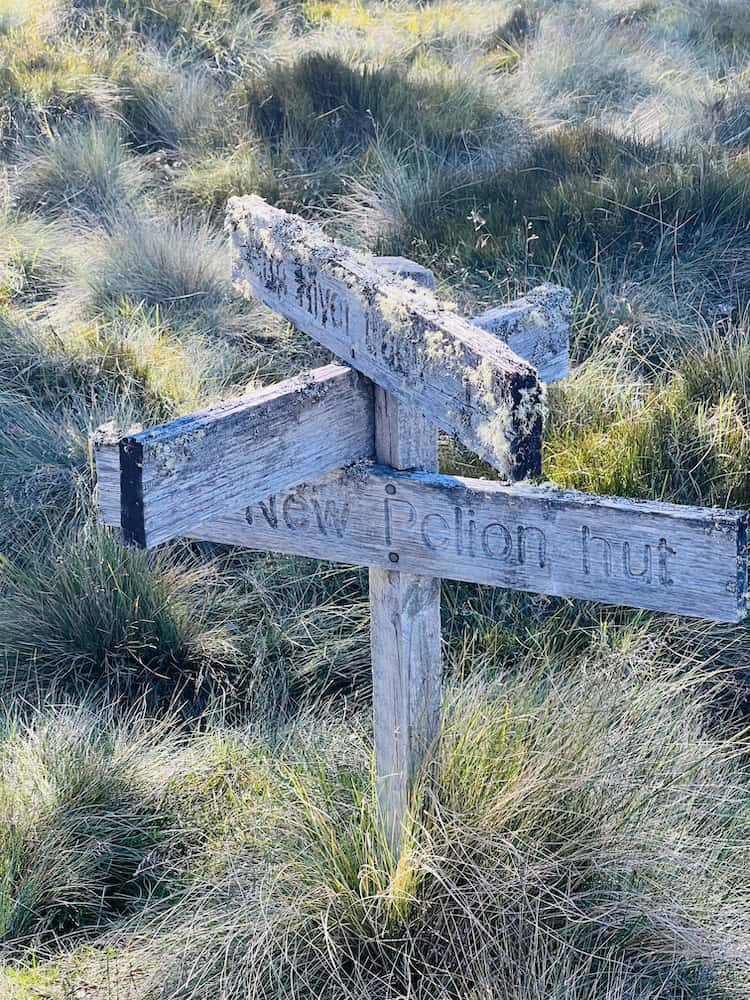
At the Arm River Track junction, we were encouraged by the signpost for Pelion Hut – yay! We were almost there!
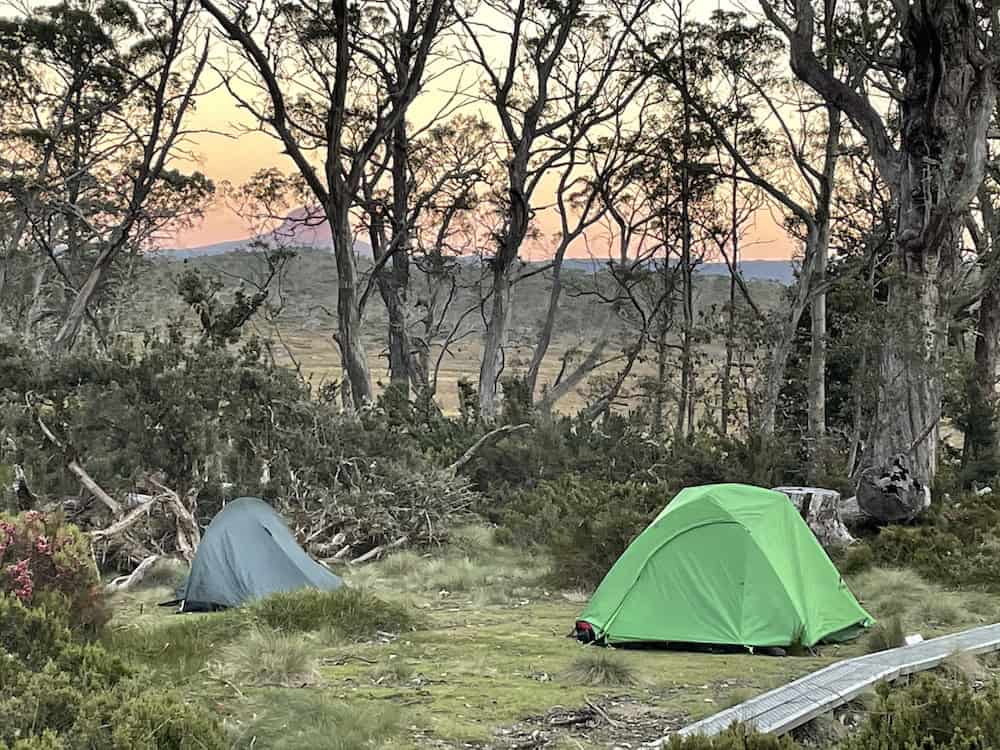
Spotted along the shoreline of Lake Ayr were a couple of tents. It was a lovely reminder that wild camping is allowed in the park. Lake Ayr is a stunning lake, and if it had been earlier and we weren't at the end of a long, hot hiking day, we would have stayed longer.
New Pelion Hut
If you have done the Overland Track, you may have noticed several new faces at the Pelion Hut.
People who hike in through the Arm River Track or Lees Paddock, are officially allowed to stay 2 nights at no cost and no need to book.
As I'd done the Overland Track a year ago, visiting this hut again brought back some lovely memories – including the stinky dunnies! I like Pelion Hut; the outlook over Mt Oakleigh is superb – both in the evening and morning light.
The huge wrap around verandah gives the hut a great atmosphere, and after wild camping the last few nights it was really lovely to sit and chat to other hikers.
Old Pelion Hut
Visiting the Old Pelion Hut during my last visit was a highlight, so I was keen to show the historic wooden hut to my hiking buddy.
The hut was built in 1917 to house the manager of a copper mine on Pelion Plains. The Old Pelion Hut is now used only for emergency accommodation but has provided shelter to hikers over the past 100 years.
Walking into the hut, you get a real sense of history and you can stand there and just imagine the 1000's of walkers who have used this hut throughout the past century. There's a copy of a visitor book you can look through and see all the entries from days gone by. It's definitely worth a visit.
Day 6 – New Pelion Hut to Paddy Hartnett Track via Mt Ossa
|
Distance: |
16.8 km / 10.45 mi |
|---|---|
|
Elevation Gain: |
1609 m / 5208 ft |
|
Time: |
10 hrs |
|
Difficulty: |
Hard |
Climbing Mt Ossa
Mt Ossa is a right of passage for those walking the Overland Track. However, I didn't attempt the climb during my walk of the Overland Track the previous year as back then, I was a relatively new hiker and felt it was beyond me, so I climbed Mt Pelion East.
This time, I was a more experienced, fitter, and agile hiker. We secured our bags on the platforms at the cross junction, and started the climb up. It was easier than I had imagined and the views just as amazing as I'd imagined.
READ NEXT: Our 5 Top Tips for Using a Wooden Tent Platform
That night, we headed along the Paddy Hartnett Track, intending to return via Lees Paddock. We found a lovely little spot to wild camp on the banks of the Mersey River about 2 km east of Kia Ora Hut.
We sorted through our food and decided we had enough for an extra 2 days. As our return ride to Launceston was waiting for our call before he came, we knew we could change plans – and so we did! Just like that.
Day 7 – Paddy Hartnett Track – Pine Valley Hut
|
Distance: |
21.5 km / 13.35 mi |
|---|---|
|
Elevation Gain: |
1063 m / 3487 ft |
|
Time: |
9 hrs |
|
Difficulty: |
Medium |
Du Cane Hut
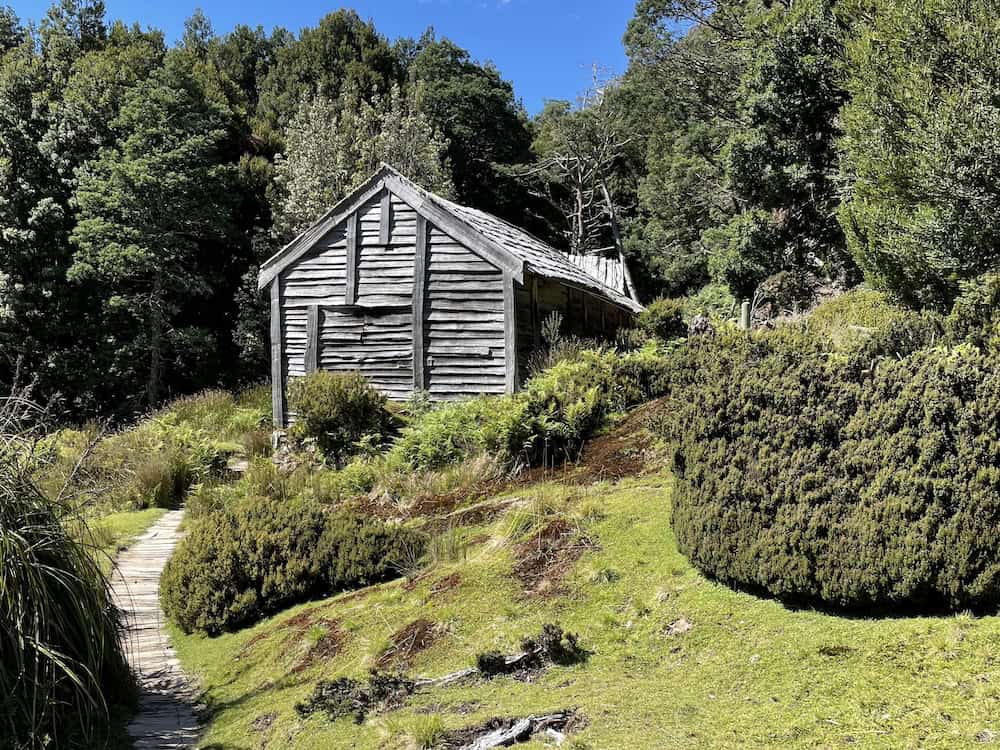
We got up early and backtracked towards the Overland Track. Once on the Overland Track, we headed south past Du Cane Hut – another of my favourite backcountry huts.
The picturesque Du Cane Hut sits in a small clearing with a pencil pine forest backdrop. It's the oldest structure on the Overland Track. It was built in 1910 by ‘Paddy' Hartnett, who led some of the earliest multi-day guided walks on what has become the Overland Track.
The walk to Pine Valley Hut junction was much easier than I remembered from the previous year. A reminder of how far I'd come in my hiking ability. We made excellent progress, stopping for a late lunch at Bert Nichols Hut, before arriving at the Pine Valley Junction.

Because Word of Mouth Still Works
Hit share and put this on their radar.
Day 8 – Pine Valley Hut – Labyrinth Lookout Return
|
Distance: |
25 km /16.1 mi |
|---|---|
|
Elevation Gain: |
1090 m /3579 ft |
|
Time: |
8 hrs |
|
Difficulty: |
Hard |
Pine Valley Hut
I missed Pine Valley Hut the previous year, so it was really lovely being able to make it this time.
Although it's often tacked onto the Overland, Pine Valley Hut has a completely different vibe. Maybe it's because the hikers aren't part of an Overland cohort and are just regular local hikers.
There are a couple of platforms for tents, as well as plenty of tent pads scattered along Cephissus Creek that runs past the hut. The hut itself is old style, with 4 bunk platforms, each able to sleep 5-6 at a squash, 3-4 comfortably. There's a table and a wood stove for when temperatures drop below 10C.
Trees surround the hut, and it's a really lovely setting. We ended up staying 2 nights while we explored the Labyrinth.
Day 9 – Pine Valley Hut to Narcissus Hut & Ferry to Cynthia Bay
|
Distance: |
9.71 km / 6.03 mi |
|---|---|
|
Elevation Gain: |
863 m / 2831 ft |
|
Time: |
4 hrs |
|
Difficulty: |
Medium |
The Overland Ferry
We started out early on our last day, eager now for that burger and beer that awaited us at the St Clair Lodge.
After 9 days of hiking and backcountry meals, you do tend to start drooling at the mouth when you contemplate what your food order is going to be.
We had yet to book a ferry, and it was the first couple of days in January, so we knew our chances could be nil, slim or lucky. We worked out that if we got to Narcissus Hut early enough, we could call the ferry operator and try to secure passage. We're lucky we did, as by calling ahead, we got on standby and so got on the next ferry.
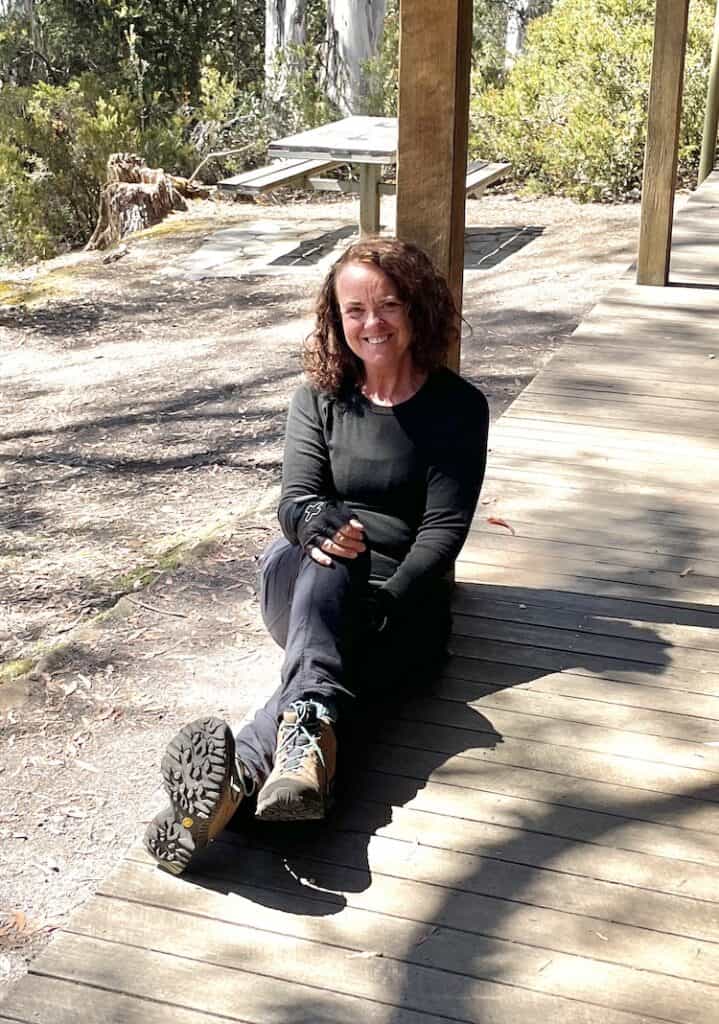
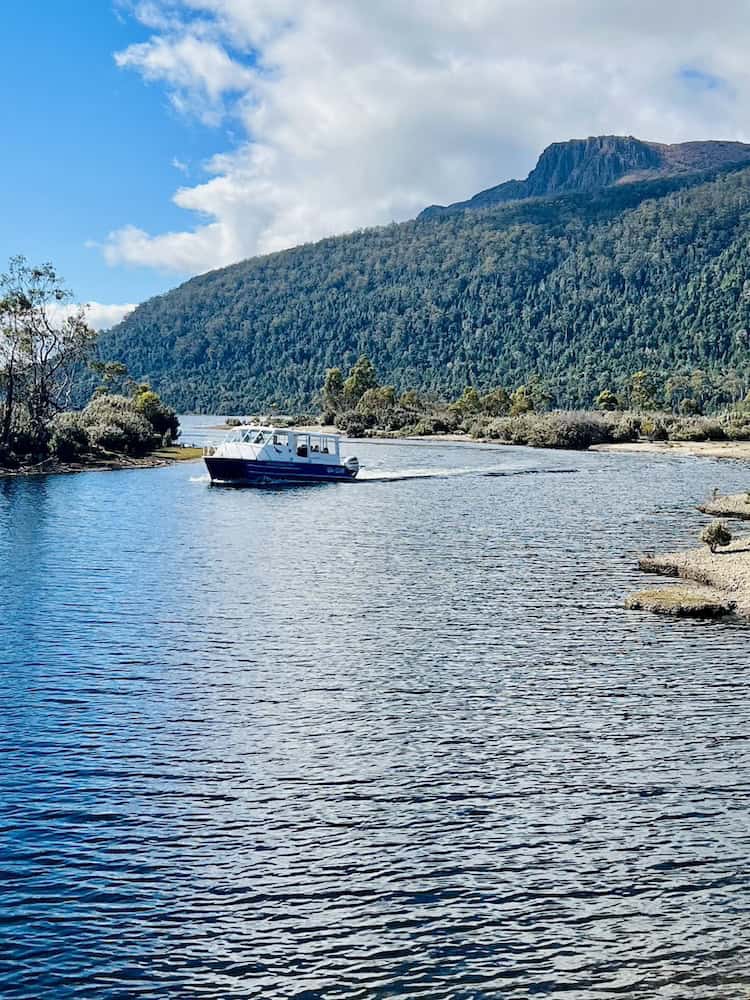
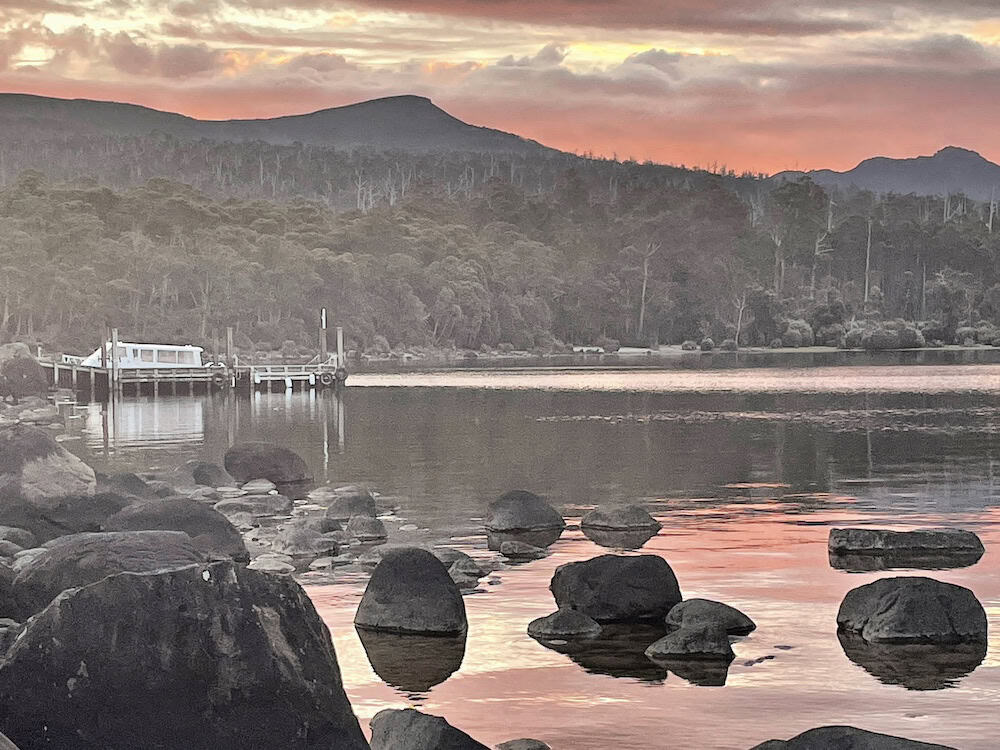
We camped that night at the walkers camp at Cynthia Bay which turned on a beautiful sunset over the water. A perfect end to an amazing 9-day hike.
Transport and Logistics
The Walls of Jerusalem Tasmania Transport
Private Car and Parking
The Walls of Jerusalem trailheads at Mersey Forest Road are an hour west of Launceston.
Depart Launceston on Highway 1, taking the B12 exit at Deloraine. All the trailheads mentioned in my track notes have car parks.
The car parks are remote, so your car will be unprotected, and insurance may not cover a hired car. Also, if you plan to exit the parks elsewhere, you will have to car shuffle.
If you plan on hiking Frenchmans Cap, the public bus leaves from The Derwent Bridge Hotel each Tuesday and Thursday. You could potentially resupply using Overland Track Transport, which arrives at the Cynthia Bay Lodge daily for pick-ups. – or send a food parcel by post to the Derwent Bridge Hotel
Shuttle
Wild Island Adventures runs a shuttle service to the Walls of Jerusalem National Park and will take you the extra 7 km to Lees Paddock if needed. They also sell gas and both Radix and Strive dehydrated meals if you find you're a bit short.
Private Shuttle
We got a private driver, which is a good option if there are 2 or more passengers, the shuttles are all booked out, or, like us, you weren't keen on spending a night in Launceston.
As well as a couple of Launceston Uber drivers who pick up passengers and drop them off on various trailheads, you can post on the Overland Facebook page.
Mike Hazelwood, a local guy who does search and rescue, will often help if he's not taking people hiking. He's a great guy with many stories to entertain you on the drive.
Public Transport
The only public transport from Launceston is the 762 Bus Launceston to Mole Creek, which runs daily.
Your options from Mole Creek to the Walls of Jerusalem car park (45 km) include taxi or hitchhiking. At the time of writing, a taxi service at Deloraine may be able to assist.
Also, if you choose public transport and stay at the Mole Creek Camping Ground, the camp hosts may be able to help you with getting transport to the trailhead.
Bus timetable
Mole Creek Camping Ground
Luggage Storage
Wild Island Adventures can store your luggage if you are using them for the return journey, or if you are staying at Mole Creek Camping Ground, they will also store your non-hiking gear.
Gas Purchase
Wild Island Adventures will supply gas canisters in 100 gm and 250 gm. If you are getting a private driver, if you speak to them nicely, they may be able to pick some up for you. We arrived in Launceston on Boxing Day, so this was our solution.
Lake St Clair Transport
Lake St Clair Shuttles
If arriving at Lake St Clair (Cynthia Bay Lodge), several shuttles service this Overland Track terminus. Here are a couple of options:
Wild Island Adventures
Overland Track Transport
Lake St Clair Ferry Service
The Lake St Clair Lodge operates the ferry from the dock 10 min south of Narcissus Hut. To book, contact them directly, or you can always try your luck on standby.
When you reach Narcissus Hut, there's a two-way radio to confirm your passage. Many people make reservations but are delayed or arrive earlier than expected. The ferry operator will take you if there is space, and you can pay on arrival if you haven't already.
Where to stay in Launceston
Save Your Pennies
Pod Inn
Very Good and Won't Break the Bank
Grand Chancellor
Splash Out
Art Hotel on York
Gear List for the Walls of Jerusalem Tasmania
Check out my Full Gear List for Overnight Hikes
Maps and Compass
Maps Tasmaps
Compass Suunto M-3 Global Compass
If you are travelling off the beaten track, a compass is sometimes irreplaceable, especially when walking for more days than you have charge for your electronic devices. Getting lost in the Walls of Jerusalem or Cradle Mountain National Park is no joke.
You will need to be able to use a compass as well. You can attend in-person training sessions in your area, but if you can't get to any of these or need to brush up on your skills (like me), then The Columbia River Orienteering Club has excellent tutorials on YouTube. They also have tutorials on using GPS systems such as GAIA and similar.
Tasmaps has a comprehensive range of Tasmanian maps, which show all the major walks (except the Never Never Trail; you need to get onto GAIA for that!)
A good quality compass is imperative. When I did the in-person navigation course at Mt. Barney Lodge, I learned the difference between a cheap compass and a quality one.
Personal Locator Beacon Ocean Signal RescueMe PLB1, Personal Satellite GPS
You often see me with one of these attached to my shoulder strap. A PLB or Personal Locator Beacon is vitally important if travelling off grid.
As the RescueMe PLB1 is funded by governments, there are NO CHARGES to use this service. By setting it off, a signal is sent to the rescue authority of the country where you registered your device. If you set it off outside the country where the device is registered, your home rescue authority will immediately notify the rescue services nearest you.
The RescueMe service of alerting the rescue authorities in your area is free. Getting rescued is often not free (Outside Australia) and can cost in the 10s or even 100s of thousands of dollars.
At the time of writing, the Australian Search and Rescue service is free to everyone in Australia, regardless of nationality or residency status. This includes international travellers, tourists, and bushwalkers of all experience levels.
GPS Gaia GPS
A good GPS system allows you to download and follow a map while your phone is offline. Apps that use the community to update trails (also known as crowdsourcing) can often be off-route, for example, AllTrails. This can cause you to walk off-course easily, which can be dangerous. Gaia GPS uses official government Topo maps and follows designated tracks. Plus, you can create your own trail before setting off, checking distances and elevation beforehand.
First Aid Kit Hiker First Aid Kit
A First Aid kit is essential when heading out to the backcountry and should also be taken on day hikes. It comes everywhere with me when venturing out, as you never know when you'll need it.
And the day you don't take it, Murphy's Law – it might be the crucial piece of equipment that makes all the difference. Think snake bandage in Australia, triangle bandage for a dislocated shoulder, or even plain blister plasters. I make up my own first aid kit – click here to see what's in it.
Power Banks (Portable Battery Pack) Lightweight Power Bank
Hiking backcountry means you won't have access to a charging point, and we all have devices we need to charge, be it a phone, smartwatch, headlamp or earbuds if you use them.
Your Personal Locator Beacon is the only electronic device that doesn't need charging, as that battery lasts a solid 10 years. Running out of the ability to charge may mean relying solely on your paper map and compass – just like in the old days.
The Nitecore series wins hands down regarding Wh/g (wattage per gram), and it's my preferred power bank. To keep power banks working at their optimum, I keep them in my sleeping bag at night as the cold leeches power. For that reason, never leave your power bank on the floor of your tent.
Headlamp Rechargeable 400 Lumen Head Torch
Although my headtorch is rechargeable, it can also work on standard batteries, which I carry in my utility kit. The Led Lenser is of exceptional quality with various light strengths and red light for when you don't want to blind other hikers or get up for a midnight loo run in a crowded hut. The red light is also great for nighttime wildlife spotting, such as kiwi on the Rakiura Trail.
Walls of Jerusalem to Cradle Mountain-Lake St Clair Final Thoughts
Definitely one of my favourite hikes to date, and I can't wait to return and follow some of the other trails in both parks.
It was really exciting going off the beaten track, and while we met a few other people (all locals – Tasmanians), sometimes we felt like we were the only ones alive, wandering around in the pristine wilderness – until, of course, we reached the Overland Track!
These two parks are a great introduction to wandering off well-known tracks and forging your own hike. Using a GPS such as Gaia GPS and taking a paper map is essential, but what we did was also very doable for hikers with medium experience and common sense. I hope my hike inspires you!
If You Liked this Guide – You May Also Like:
- Navigating the Overland Track Solo
- Hiking Frenchmans Cap -Tasmania’s Iconic White Peak
- Hiking the Rees Dart Track – Mt Aspiring National Park
- The Rakiura Track – A Great Walk on Stewart Island
- Traverse Walls of Jerusalem to the Overland Track via Lees Paddock
- Hiking The Tahoe Rim Trail – A Guide for Overseas Visitors
- Conquering the Gold Coast Kokoda Challenge
- Plan Your Larapinta Trail Sections, Best Time of Year, Resupply, and Transfers
- Larapinta Trail Food Essentials and Nutrition Plan

